Sunday Funday
In my house Sunday is a very important day. We go to church services and honor God, and we watch football. My family has always been big 49er football fans, and my husband is also a HUGE 49er fan. Sadly, as you know they didn't make it to the Super Bowl. Even so, we still watched the Superbowl. Here are some fun things to make your Sunday's extra yummy and fun. It doesn't even have to be for the Super Bowl, it can be for any football or sporting event. It is a great way to make friends. The boys always end up watching the game, and bonding, while the women end up girl chatting in the kitchen! I like to be by the food, I will admit! We usually end up having a Super Bowl Party every year.
Here are some great tips:
Invite a lot of people, because only about half will come (lots of people have things with their families).
Make tons of food! (start cooking!)
Make Game predictions. ( make sure they write it down at the beginning, so they don't change it!)
Have everyone bring one treat appetizer to share. (less stress for you, and you get to try new things!)
Here are a few pictures from past Super Bowl Parties!

P.S I would never make Packer's cookies, my husband would kill me! Our good friends are die hard Packer friends!

Get fun drinks, and put shaved ice over them! We like Old Fashioned Soda drinks!
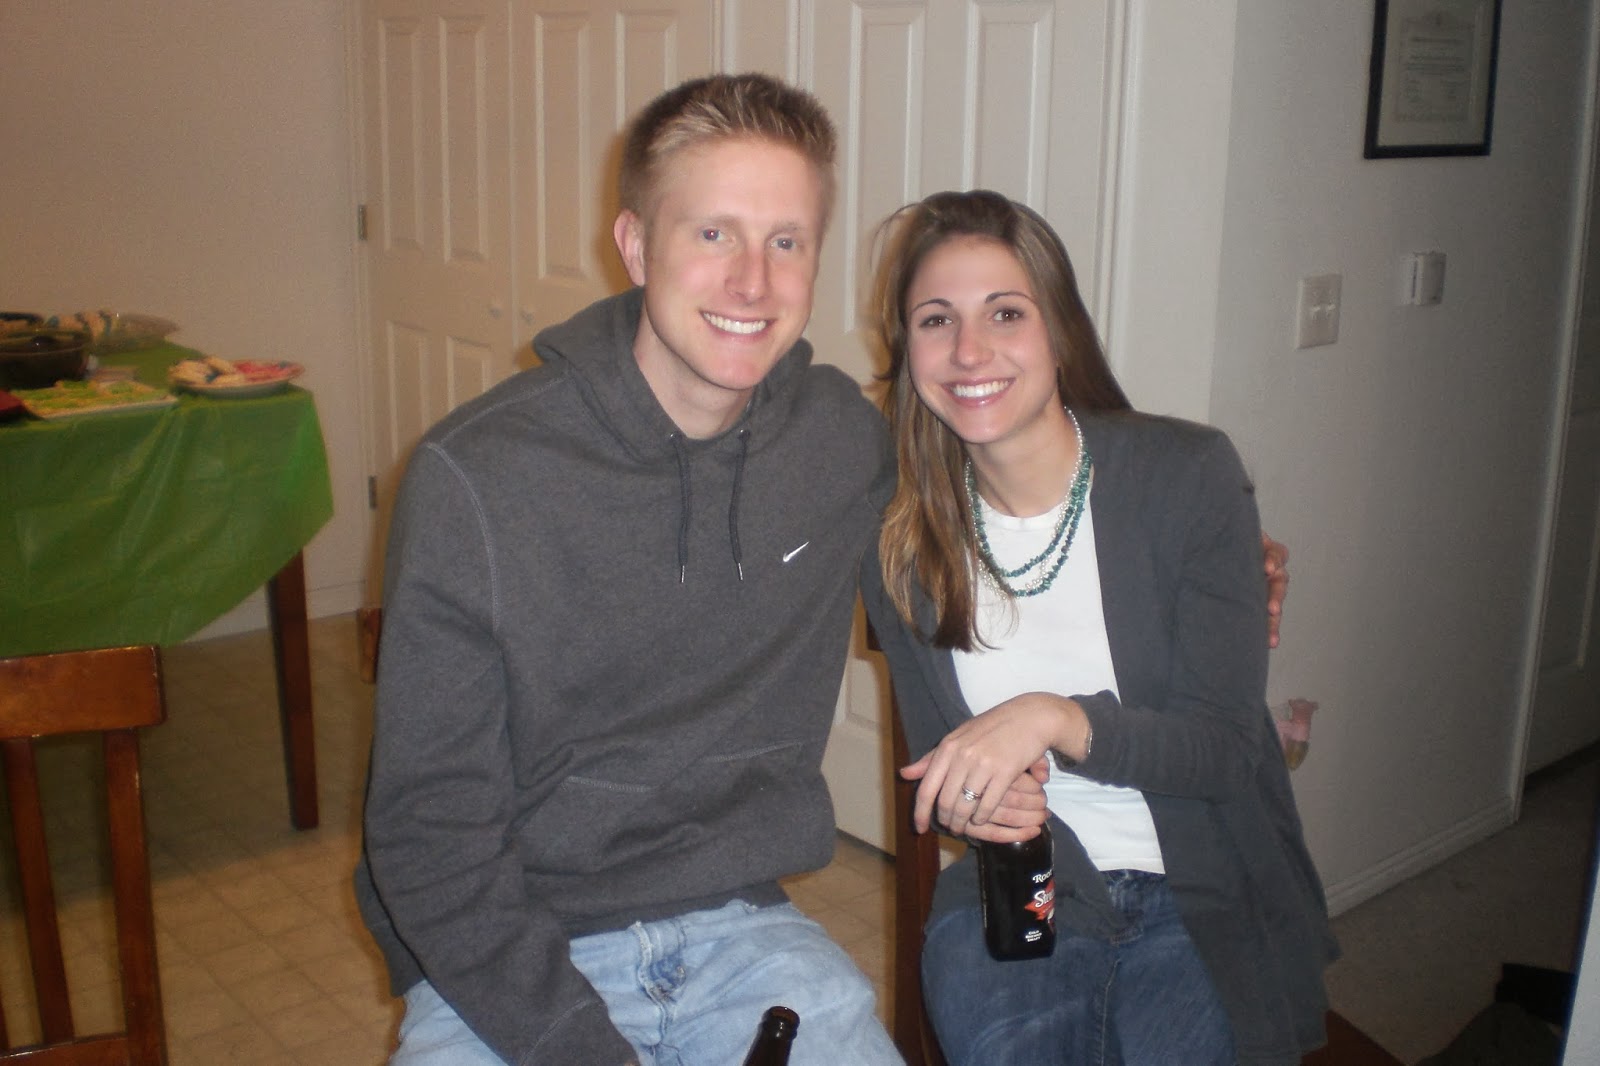

Now looking at these pictures we all look like babies here!!

This year just moving into our new house we decided to invite a few people over for a Super Bowl party. Everyone knows the best thing about a Super Bowl Party is the FOOD! So, since we were hosting, I always like to make a lot of food! My number one goal is not to kill myself. I think that is important for everyone to know. It is fun to make lots of food, but you are taking a lot of time away from your family. So, I make a few really yummy things and then I usually buy a few yummy things too. I made BBQ Pork Sandwiches, Pizza, Peanut Butter Balls, and cookies. Then I bought Trader Joe's Spinach dip, (which is amazing) Red Vines, the Hawaiian rolls (sometimes I make rolls, but this year I bought them), and sweet potato fries. Everyone that came to the party also brought things! We had every thing from wings, crab cakes, fruit, muddy buddies, and tons of drinks! The party was a lot of fun, even though the game wasn't a very good game, or much of a game at all!

The night before I start the pork. I buy the biggest Pork Butt Roast I can, and put it in the crock pot.

Then I pour root beer until it is completely covered.

Put it on low.

I also do the peanut butter balls the night before. They are really easy and delicious!

Melt the chocolate with some Coconut Oil in the Microwave.

Get ready to dip, dip, dip.

I put them on a cookie sheet.

Then I drizzle white chocolate all over the top, to make it look fancy! Then put it in the fridge over night.

In the morning get up and pour the root beer and pork out.

I put the roast on a cutting tray and take off all the fat.

Shred it up in the crock pot that has been cle!

I add some purple onion, and lots of BBQ Sauce.

Here is the Spinach Dip.

Here is the BBQ Pork Sandwich mixture. It is so delicious!

Here are the Peanut Butter Balls!

Here is the pizza I made!

We had a nice spread going on, and there was not much left!

Everyone enjoying the game!

My little daughter decided to watch Little Mermaid on her mini DVD player.


Here I am with some of the girls!

Painting Party
My husband and I currently bought our first home! We are really excited. We bought a short sale, so it has been a very long process. We put an offer on the house at the end of September and it is now mid- January and we are finally able to move in! We live in Southern California, where the prices are pretty high. We live in a cute little community called Redlands. We absolutely love it. We bought a small three bedroom starter home. It is a great place for my little growing family. Tuesday we got the call from the realtor that we could finally get the keys to our house. We were so excited! One of the first things we did was run down to Home Depot and get some paint. We have been dying to try horizontal stripes in a room. Our master bedroom is not huge, so we wanted to make it look bigger. We were not too fond of the green color that was on the walls. We chose white walls with gold stripes. We did not realize what a huge process this actually was going to be. Let me tell you, many times I wanted to quit! Luckily, every night Abbi (our daughter) went to bed at my parent's house, so we would rush over to our new house and begin to have our very own "Painting Party." This consisted of Diet Coke, Trader Joe's Gummy Bears, loud music, and painting with my very fun Hubby! It took us about four nights to finally get it to where we wanted it. We are in love with the results. The hard work was worth it. I think next time my husband might just hire some one! Ha ha! All I have to say is, it has been said that moving and remodeling is one of the most stressful things on a marriage, and I can understand why!! We have moved 12 times since we have been married! (we moved a lot in college) My husband is a perfectionist, so it might be better if we hire some one to do Abbi's room next! lol All in all, it was a lot of fun, and it gave us a total of four painting date nights!

The before pictures! The room is a sage green.

Preparing the room to paint.

Taping the edges.

Mixing the white paint.

We had to do several white coats, because the green showed through.

Day two starting all over again!

Mix and pour!

Getting the top and bottom corners, and edges was my speciality!


So happy we are almost done with the white!

Now time to tape the wall for the stripes. You must measure your wall and divide inches between how many stripes you want. We decided to do seven stripes. We did four gold, and three white. We wanted a gold stripe to be at the bottom and top.

This took a lot longer than we thought, because the first time we tried to do it with out a Level. The next day we came back refreshed and used a Level my Dad had. This made all the difference! It went so much faster. Pencil it along the way, and then tape.

You tape up, and down, so it is covering the white. It might look funny, but that is the way you need it so you can paint the gold!

We painted a few coats of gold paint.

You don't want to wait till it is completely dry to take off the tape.

Here is our finished project! We finished it late, so the lighting isn't the best.

We put our bed up, and I love it!

Here is our dresser we also finished! We found an old dresser on Craigslist for $40 and just spray painted it black! It looks brand new. I am so happy with the result of this little home project too! It looks great in our room!

Now it is time for you to get out there and have a "Painting Party" of your own! It is a lot of work, but it is worth it! You can look at your beautiful walls everyday. It really makes you happy!
Dress for the Occasion
I love to dress up for parties. I think some people would even agree that dressing up for the party, sometimes is even more fun than the actual party! I think this is just part of being a girl. I remember in High School my best girl friends and I would spend hours getting ready for Homecoming, or Prom. We would do our nails, makeup, and hair. It was so much fun. It is nice just to feel good about yourself when you go out. I think as we get older, sometimes we forget that fun of dressing up. It is really important for women to continue to get ready and go out and have some fun. The way we dress can really affect our self esteem. I know for myself, the days I don't get ready, I feel like crap. It makes me not want to go anywhere. I have had many periods of my life where my weight has also effected my self esteem. Weight has been a constant battle in my life. But wearing sweats all day is not the answer. So, get dressed and go out! Here are a few styles for different types of parties. The best thing is they are CHEAP!! I am a bargain shopper! So even if you don't have a lot of money you can still look cute!!
Casual
The first style is for a casual party. This can mean a party during the day. For example: kids birthday party, lunch date with friends, family gathering, casual date night, movie night with the girls, and other casual activities. For this I wore black skinny jeans with brown boots. I wore a loose shirt with a short jean jacket. Everyone looks good in black skinnys. Just add a long shirt, and some boots and you are ready to go! It is always cute, and looks great on every shape!

I got the black skinny jeans at TJMAXX! (Michael Kors for only $40!!!)


I got my brown boots at JCPennys on Black Friday! (Only $23 with a coupon)


I got my loose burgundy shirt on clearance at Nordstrom Rack! (only $7!)


I got my jean jacket on a clearance rack at a local Skate Shop! (only $20 regular $60!)

My cute purse I got in New York, a total knock off, but I LOVE it! I will take a $60 fake vs a $1,600 real one any day!!
Semi- Dressy
For the Semi-Dressy Party. This can include things like: baby showers, bridal showers, girls night out on the town, bachelorette parties, friends birthday party, dinner party, date night, and other Semi-Dressy activities. My big rule of thumb is, when in doubt, dress Semi-Dressy! It is preferred to over dress than under dress! For this I wore my dark denim jeans, with short black boots. I wore my leopard shirt with my black blazer! Then always dress up with cute gold accessories, and a black purse!

I bought my dark demin jeans at Marshalls! (They are Paige jeans, but I got them for $60!)


I got my Leopard shirt at Nordstrom Rack on the clearance. (for only $7!!!)

I got my black short boots at Kohl's Black Friday sale. (Only $25 regular $60!)


I got my black blazer at Forever 21! (it was on the clearance rack for $15)

My black purse is a real Coach purse. But it was given to me as a gift!

Dressy
Now for the Dressy Party! This is the most fun to get ready for! Dressy examples are: company parties, fancy date night, fancy girls night out, hosting a fun fancy party, holiday parties, anniversary dates, and more dressy activities. For this I wore a simple black dress. Every girl needs a simple black dress! They are so easy to dress up. I added a belt, jewelry and some cute pumps, add a a clutch to tie it all in.

I got my black dress at Ross! (it was only $30)

I got my cute leopard pumps at Marshalls on clearance! (they were only $25)


I got my cute clutch at Marshalls on clearance! (it was only $20 regular $60)

My belt was a Christmas gift from my Sister-in-Law! (#score!)

My cute jewelry was also a Christmas gift from my Sister. (#doublescore!)


Add some red nail polish, and red lipstick, and you will look super classy for your Party!

Now it is time to go out there and dress for your occasion. Most importantly have fun, and look good for you!
Girls Night In
Every girl deserves a Girl's Night! It is so much fun to hang out with your girlfriends. Hosting a Girl's Night, is also a great way to make new friends! One of my favorite things to do is the watch the Bachelor with my girlfriends. Many times I have attempted to watch it with my hubby, bless his heart, but he is a horrible Bachelor watching partner! So, instead of watching it alone or watching it with your Hubs, try it with the girls! You do not have to watch the Bachelor on your girl's night, you could also watch a Chick Flick. It really doesn't matter what you watch because you usually just end up talking the whole time anyway! Here are some fun and easy ways to SPICE up your girls night! (and all very inexpensive!!)

As I was setting up for the party, my little Abbi saw the nail polish, and wanted to do her nails! So Abbi and I had our own little girls night!

I started taking off my nail polish, and she did exactly the same! Times like this I LOVE having a little girl!

Abbi working so hard on her Nails! (Clear Nail polish so it doesn't get everywhere!)
Now to begin the treats for Girl's Night! Since College every Girl's Night for me, means one thing, Muddy Buddies!!! For some reason they are just so much fun! If you have never tried them, you are seriously missing out! Here are some photos from my College Girl's Night!

Yes, we got a little crazy! In this one below I don't even know why we look like this?

So to get your party started make a huge bowl of Muddy Buddies!

Here are all the things your need to make Muddy Buddies!

Melt the Chocolate Chips and Peanut Butter together.
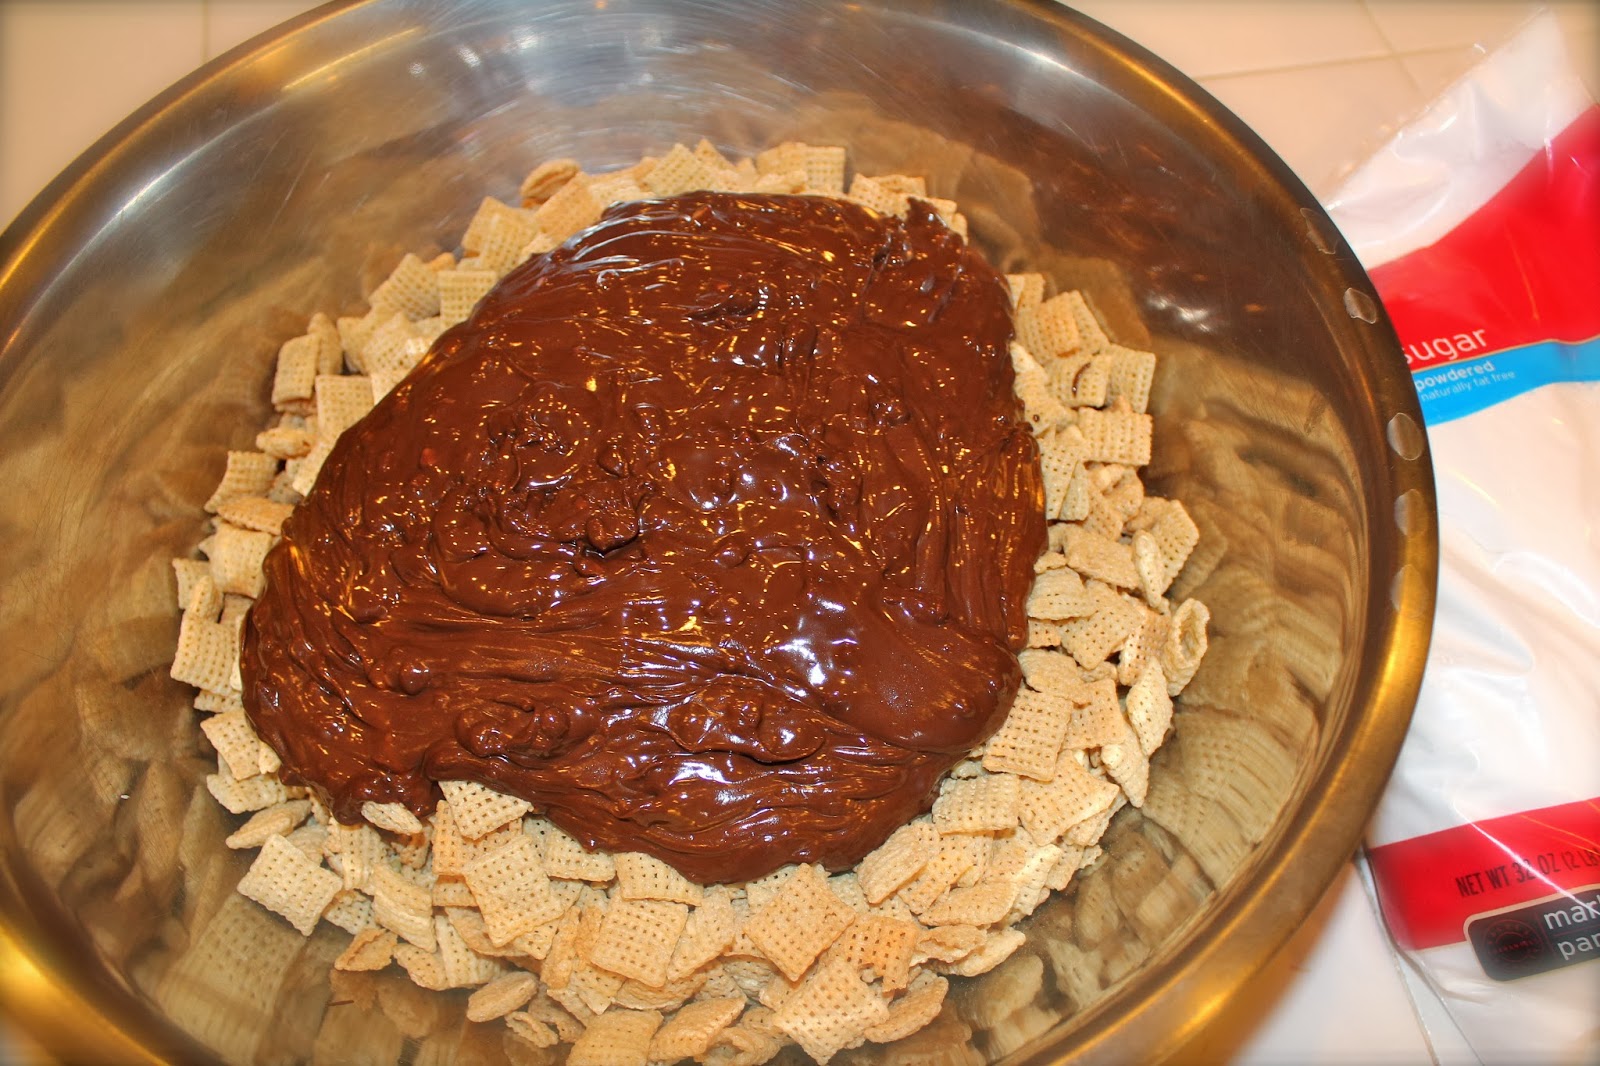
Poor the melted mixture on the Chex!

After the mixture is all mixed int0 the Rice Chex, add the powdered sugar!

Mix, Mix, Mix!

Put it in a pretty bowl, and then...

ENJOY!
No, but seriously, this is my biggest weakness, and I could eat the whole bowl!
Now it is time to make the Drinks! I decided to make delicious Virgin Pina Coladas!

These are the only ingredients you need! (Recipe in the Recipe section!)

Mix it all up!

So simple and yummy!

Now it is time to sit back, relax, and enjoy the company of your girlfriends!

Nail time!

I hate paying for a manicures, and pedicures because I would rather spend that money on something else. So instead I get good nail polish and nail stickers!
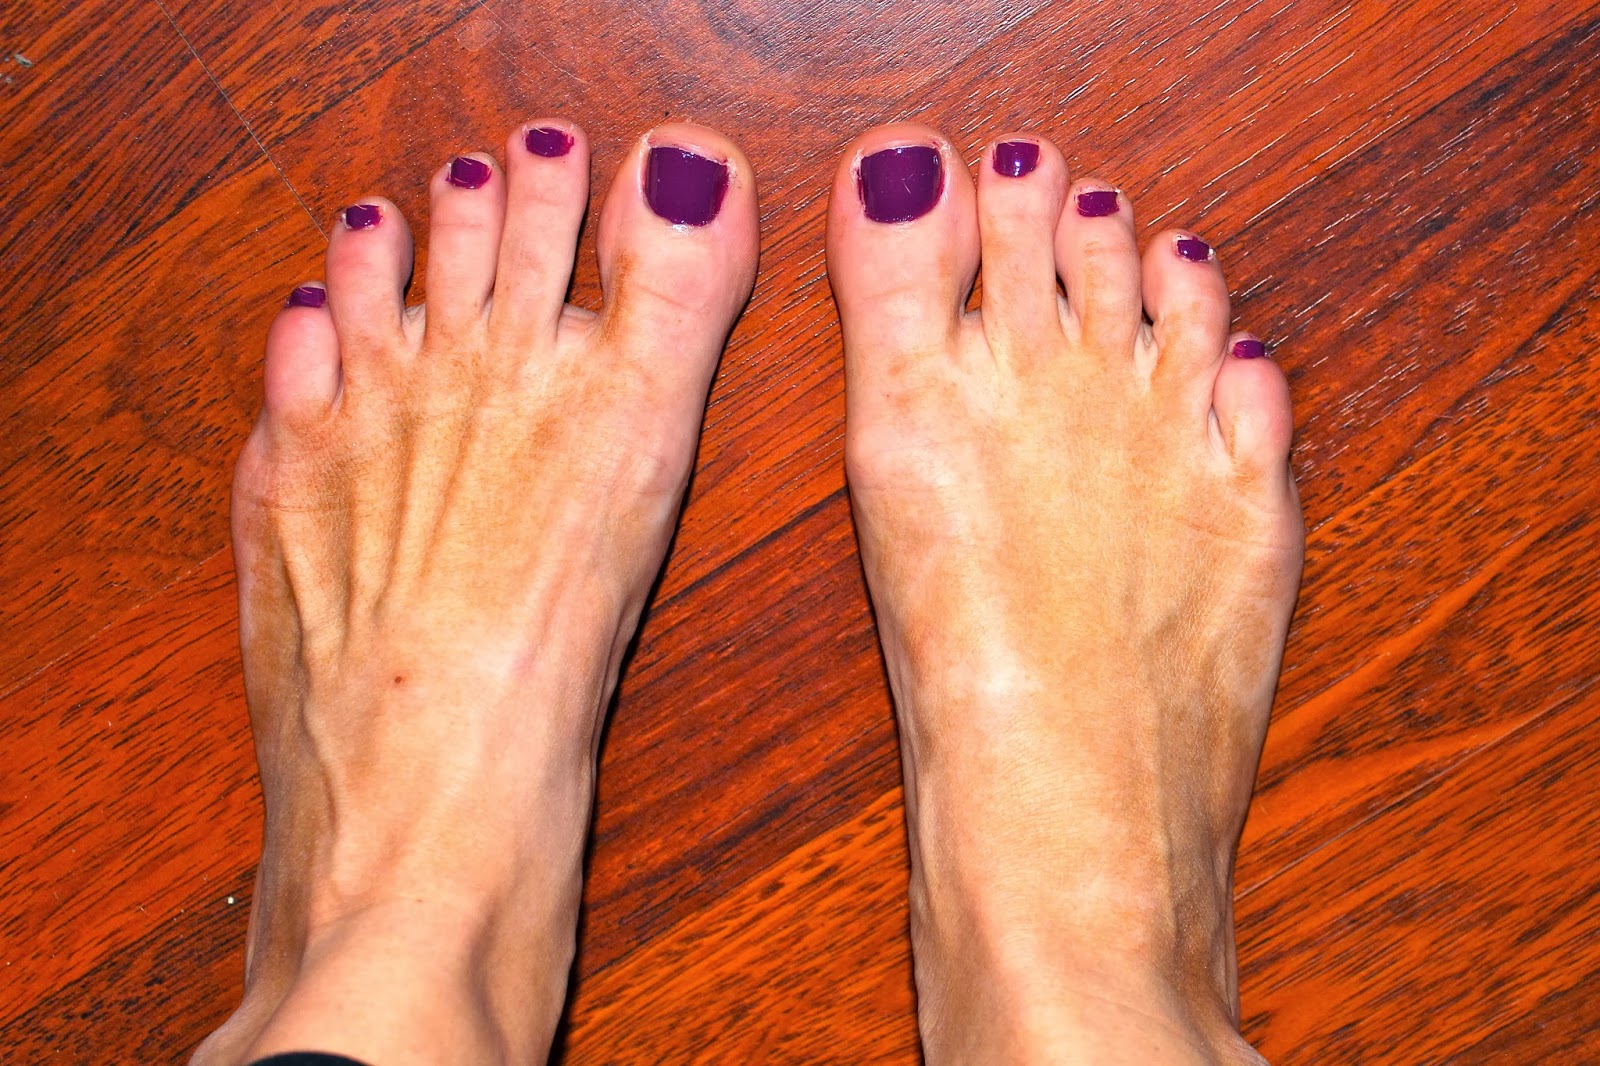
This is the color I chose for my toes!

And here is the end result of my nails! I used one stick on each hand. I feel like it adds a little Punch!
The night was so much fun! If you haven't watched the episode 1 of the Bachelor yet, you must catch up, because tonight there is another Episode!

Ok, So I think we can all agree we are glad Cray Cray Massage Therapist girl got voted off!!

Andi is my favorite so far! She is beautiful, and has brains!

I have to put Elise up, because she has my same name, and my friends kept saying that we act alike! I do not know how they got that out of one Episode! But she was really pretty, so I'll take it!
Who is your favorite girl this season?
Minnie Mouse Cupcakes
The month of December is very busy in my family. Not only is it Christmas, but my birthday happens to be on Christmas. Also, my husband's is the 29th, and my daughter is January 1st!! Needless to say, we keep very busy. The hardest thing about three birthdays in a week is the cost. December is always an expensive month, but add the birthdays and it really adds up. This year was also a little different for us, because we are closing on a house! It has been very exciting, but also very stressful. So, I had to make my daughter's birthday special on a tight budget. My little Abbi was turning 2! Since we were very busy, and on a budget we decided to do a family party this year. The thing that really makes the party is the Cake! Abbi is obsessed with Minnie Mouse! We have Disneyland Passes because we live so close, and she loves Minnie Mouse. Here is a picture of her skipping off with Minnie Mouse last month!

Anyway, you get the point! Abbi loves Minnie Mouse, so I started to look on Pinterest for cake ideas! I think we can all agree that Pinterest is amazing! I am definitely not a professional by any means, so I saw some ideas and in my mind adapted to do my own thing! I decided I wanted to make one big Minnie Mouse Cupcake for Abbi to devour, and then some normal cupcakes for all of my family!

Some of the things you will need to make this! First, you need a Big Cupcake mold! If you do not have one, you should definitely invest in one. I use it all the time, and everyone in my family always borrows it from me! I ordered mine on Amazon, because it seemed to have the best price, but you can get them at Michael's and Joanns. Wilton Giant Cupcake (click for exact one I got)

For this I used box cake mixes. Sometimes I make them homemade, but for the sake of time and money, I just bought the box! But to jazz them up I use one extra egg and replace the water with buttermilk. You will be amazed how good it tastes! You use one cake box for the Giant cupcake mold. Cook on 350 for about 30-35 minutes. The most important thing to do is make sure you put lots of Pam and sprinkle flour before you put the cake mix in the mold!!

This is what it looks like when you take it out of the mold!

While that was cooling off I prepared the Minnie Mouse ears! I just decided to make Chocolate Chip Cookies extra crispy, and then dipped them in melted chocolate chips!

Now it is time to make the Cupcake Mold for the outside of the big Cupcake! I just get the chocolate at Joanns! (Always use coupons!!!) Melt half the bag in the microwave for one minute. Spread it on the clean mold and put it in the freezer for 10 minutes. Take it out and do it again!

This is what it will look like!

Make sure you cut down the sides before you put it in the mold!

After you take the mold out of the freezer the second time in about a minute it will just slide out! Put it on a cake stand and then put the cake inside! Put a layer of frosting before you put the top on!

After this you begin to frost the top! I always make my frosting from scratch. I make frosting so much I do it by heart and have adapted to make my very own! I used buttercream for this! And the recipe will be in the recipe section of the blog!

I use a large tip to do big flowers around the bottom of the cupcake.

It actually goes very fast at this point!

The more frosting the better! Just go for it!

The end result! I stuck the chocolate ears in and added a big bow. Then I grated a little pink chocolate on the cake and added a big pink candle! I was really excited how it turned out!

Now I started on the red velvet Minnie Mouse cupcakes!

I made homemade Cream Cheese Frosting. I just cut the tip of a zip lock baggie and swirled the frosting on!

I used regular sized Oreos (target brand) and minnie Oreos for the ears! Then, I just made little tiny pink chocolate bows to place on the ears! You could also use frosting if you wanted! It was basically trial and error for the bows! But they turned out pretty cute!

This is how they turned out!

We had the family party at a pizza place called Shakeys! I just bought a pink table cloth at Dollar Tree and placed some pearls I already had around the cake! This is how it was displayed on the table!

Needless to say my 2-year-old was very happy about her cake!

Abbi trying to sneak over and grab a cupcake!

Here I am with Abbi! I can not believe I have a two-year-old!

Daddy with his baby girl! Here are some other pictures from the night!


It was my nephew's birthday the day before, so I made him a giant cupcake too!

We love Papa and Nana!

I would have to say it was a very successful birthday! My little girl was very happy, and that is all that matters! So staying up till midnight to make the cakes is definitely priceless! Please let me know if you have any questions about any of the things I made!
No comments:
Post a Comment